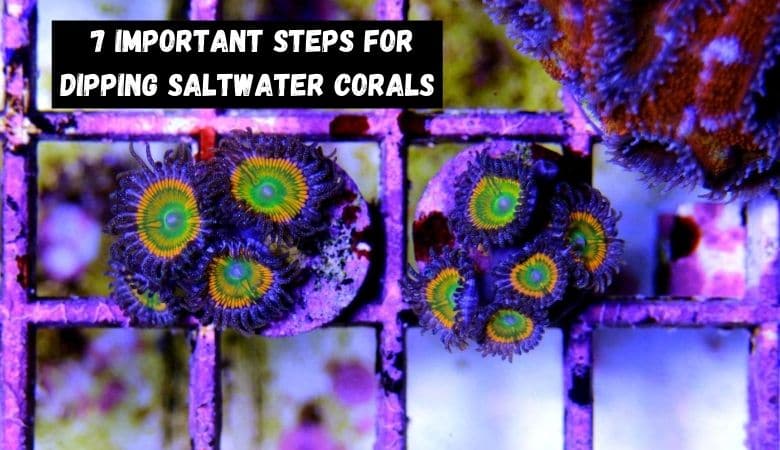
In this article, you will learn the most important steps to take when dipping your saltwater corals.
Before adding any new corals into your saltwater tank, it’s crucial that you dip them first. Dipping corals is not difficult and doesn’t take long to perform. This simple process can save you from huge problems if pests and bad critters get into your tank inadvertently.
What is coral dipping?
This is a simple procedure where you place a coral frag or colony into a liquid solution that kills and removes pests that are attached to the coral. All corals including soft, LPS, and SPS should be dipped.
Why should you dip new corals?
The overall health of your saltwater tank can be in jeopardy if you choose not to dip your corals prior to going in the tank.
Here is why.
- Dipping corals will prevent hitchhikers from entering your system.
Pests and unwanted critters can easily attach themselves to corals and enter your tank without you knowing they are there. Pests can cause major damage to other corals in the tank. Pests like Red bugs and flatworms in your tank can be a disaster. These pests can multiple very easily and cause even more damage.
- Saves money.
Not only are the corals you are putting in the tank expensive, but the damage and death of other corals caused by pests can cause a huge loss of money. Dipping your coral can easily save you money in coral losses.
- Helps the coral stay healthy.
If you have a new coral from fragging or purchased elsewhere, dipping the coral will remove any pests that can cause illness. Also, any fragging wounds can be healed by dipping them.
It doesn’t matter where you get your new corals from. Even if they are from a trusted source, always dip them prior to going into your main tank. It is safe and healthier for all corals involved.
Types of pests to look out for
There are several different pests that can hitchhike onto corals that often go unnoticed. Each coral should be inspected and dipped. Look for signs of the following pests.
- Red bugs
- Aiptasia
- Flatworms
- Bristleworms
- Nudibranch
- Zoanthid eating spiders
- Snails
Each of these pests can eat corals and cause them to die.
How long should you dip corals for?
Coral dipping does not need to be a long process. Any dipping is better than no dipping but I normally dip corals in the solution for around 10 minutes. I will also stir up the solution every few minutes to see any bugs that fall off. Read the instructions on the solution that you are using for the recommended time. You may only need 5 minutes to complete.
Best coral dipping solution to use
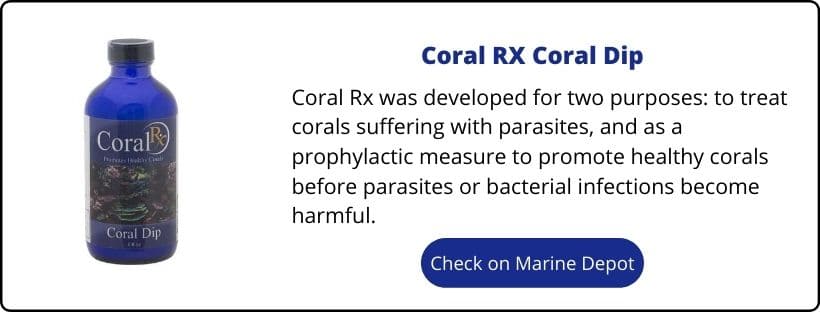
There are several products available for coral dipping. Here are some great options. I personally use the Blue Oceans Coral RX dip.
- Blue Oceans Coral RX
- Two Little Fishies Revive
- Seachem Reef Dip
These are available to purchase at Marine Depot here.
Tools and equipment needed for coral dipping
Before you start the coral dipping procedure, ensure that you have the right equipment ahead of time. This includes the following.
- Your dip of choice
- 2 plastic containers – depending on the size of your corals, choose a big enough container. A small storage container (Tupperware) is often sufficient.
- Tank water – Use enough for both containers
- Fresh RODI saltwater mix – This is to replace the water that you removed from the tank.
- Gloves
- Safety glasses
- Magnifying glass
- Hand towel
- Cutting tool or scalpel
- Tweezers
- Turkey baster
- Frag plugs and glue – If making new frags
- Measuring cup
Steps for coral dipping
Here are 7 important steps for dipping saltwater corals.
#1. Layout your tools and containers on a flat surface
Choose a safe place to lay out your towel and containers. Ensure you have plenty of space to work and prevent any harm from spills. It’s a good idea to have a spare towel to dry your hands. If you have a workbench or table that is high off the ground, it will be easier to work.
#2. Prepare your dip
Using the directions on your bottle, prepare your dip solution into one of the containers. For example, Coral FX requires 4 capfuls for every 1 gallon of dip. So 2 capfuls for ½ gallon.
* Remember to wear your safety gloves and glasses before starting. Some corals contain toxins that are harmful to our skin, eyes.
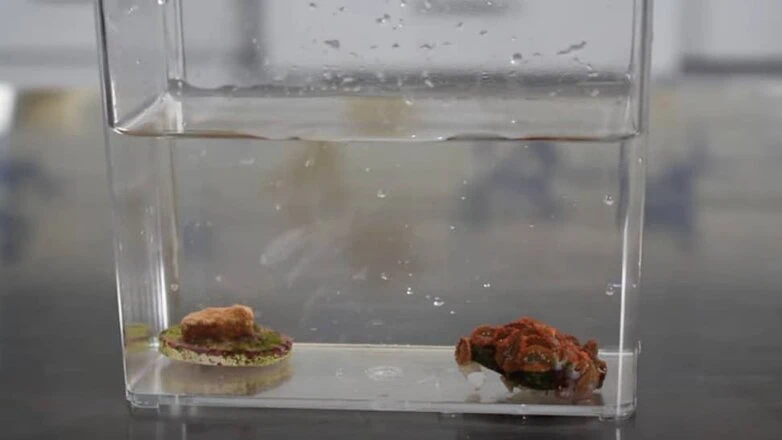
#3. Choose coral and place in solution
Place your coral in the solution for the recommended time. Use the turkey baster to swirl the water around and spray onto the coral. You should start to see the pests falling off if there are any. Leave in the solution for around 10 minutes or the recommended time. It’s important to not use the same solution for multiple corals.
#4. Remove pests with tweezers or turkey baster if necessary
You may notice that not all pests may fall off into the solution. Any remaining pests can be removed with tweezers and a turkey baster.
#5. Place into the saltwater container to rinse
When ready to come out of the solution, place the coral into the rinse container. This is just saltwater from your tank. Don’t use freshly mixed saltwater, just use tank water.
#6. Use a turkey baster to help rinse off the solution
Once into the rinse container, use the turkey baster to clean the solution off the coral. You can swish it around in the water to ensure it is fully rinsed.
#7. Inspect coral with magnifying glass and repeat
Once the coral is fully rinsed, inspect it using a magnifying glass to see if any pests can be seen. If there are, repeat the dipping process. Use tweezers if required to remove any remaining pests.
Summary
Although it may seem that dipping corals is a complicated process, it really isn’t. Once you get used to it, you will have a system in place that works for you. Many people don’t bother dipping corals but I highly recommend that you do it for all corals. You spend a lot of money on your corals and it’s important to protect them from harmful pests.